With a new year comes new opportunities. Many people create New Year Resolutions. After listening to one of my daily meditations, I decided to create New Year Intentions. What’s the difference between the two? Often, we treat resolutions as an all-or-nothing situation, and if we fall short of our resolutions, we give up. (Think the gym in February versus January 2nd!) An intention offers a level in compassion that we can try again when there are brownies in the office calling our name, or we need to sleep a few more hours instead of hitting the gym.
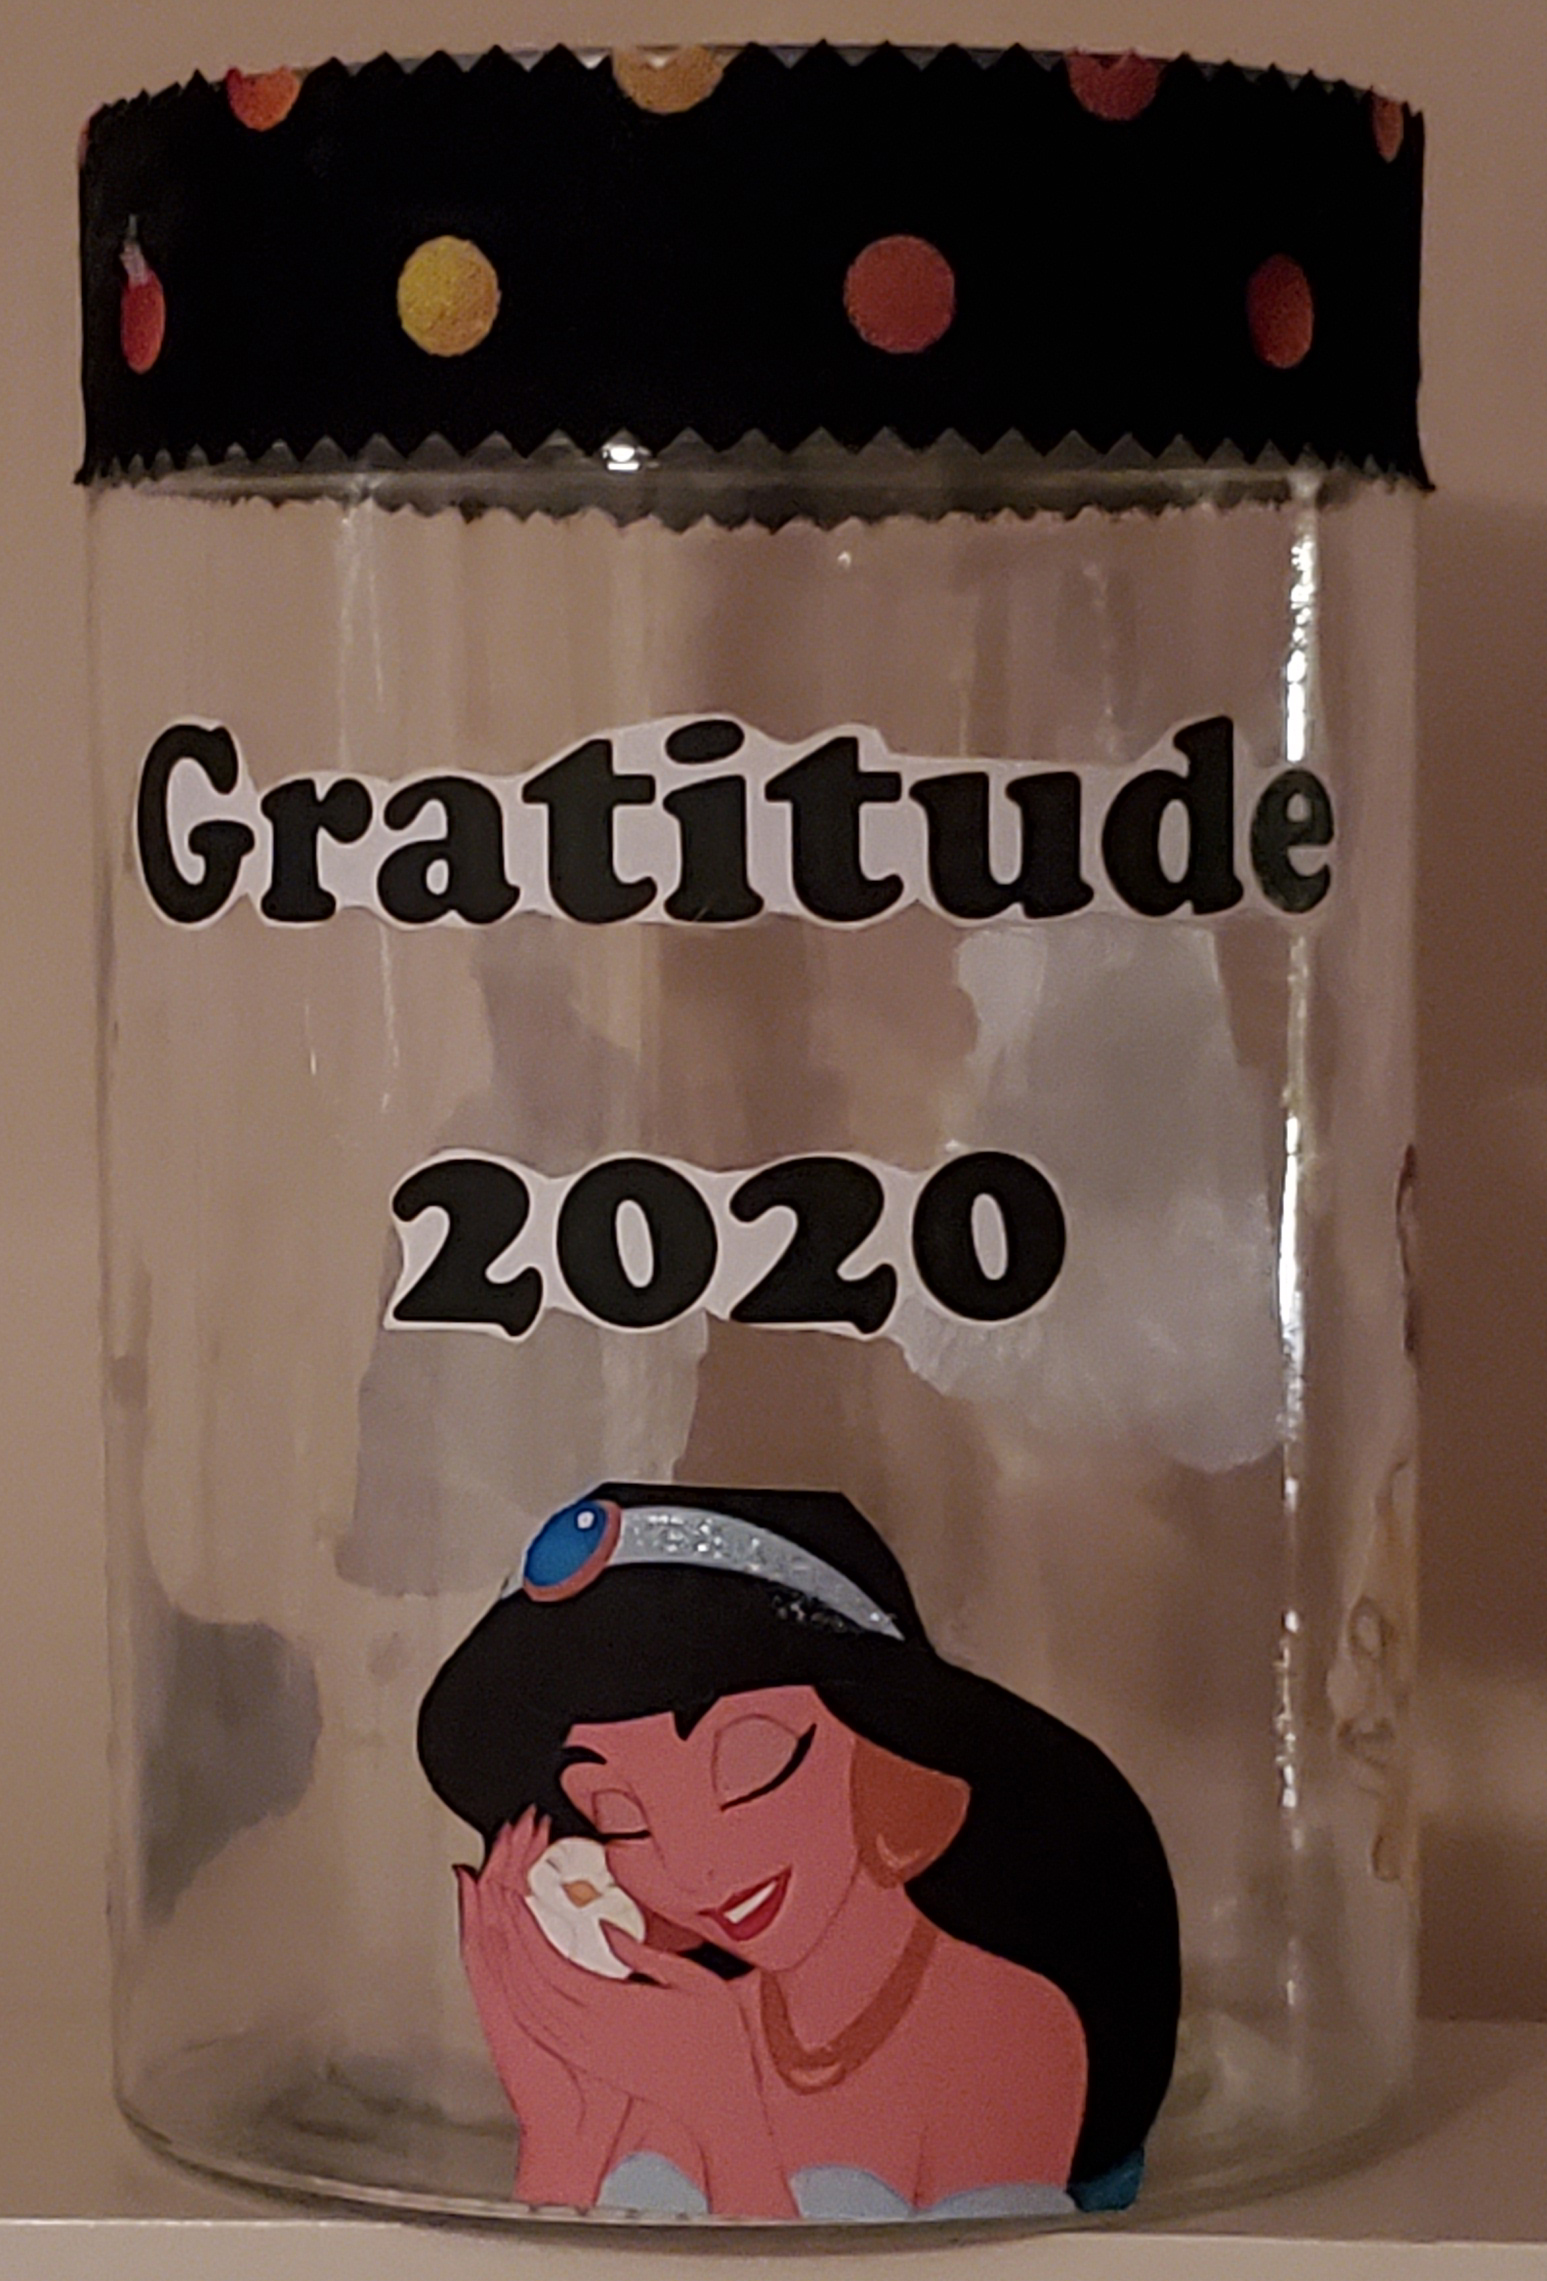
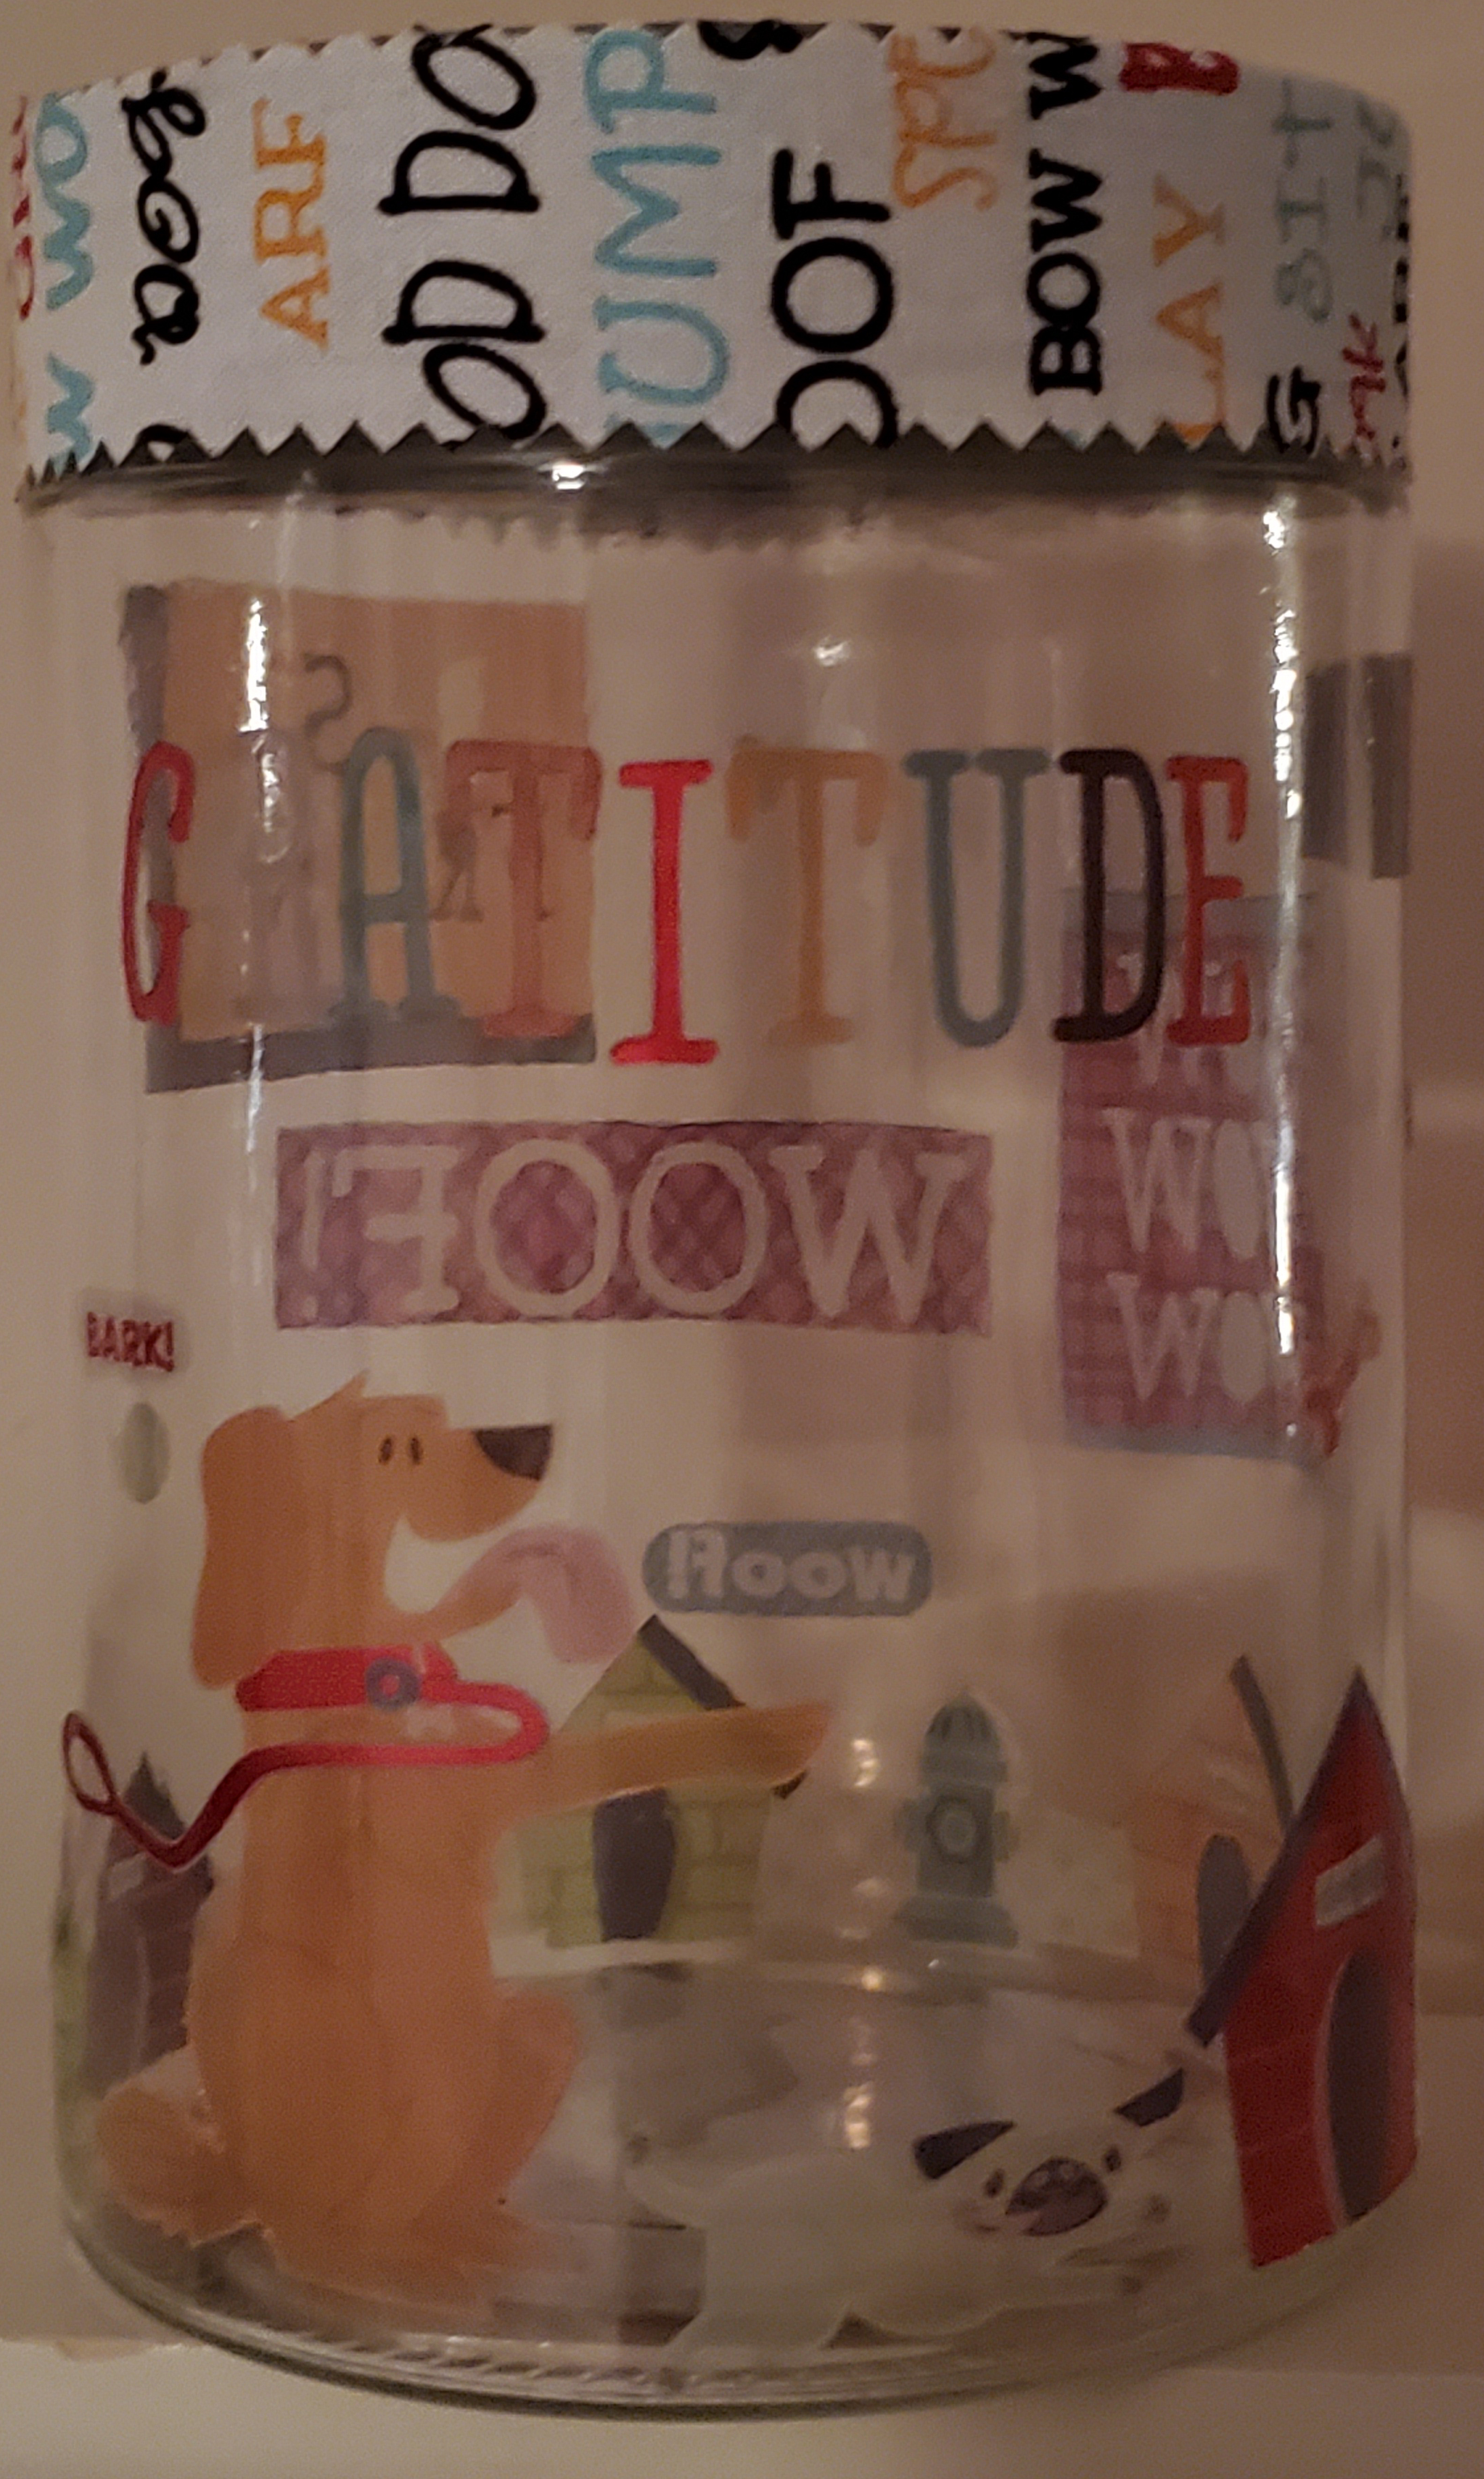
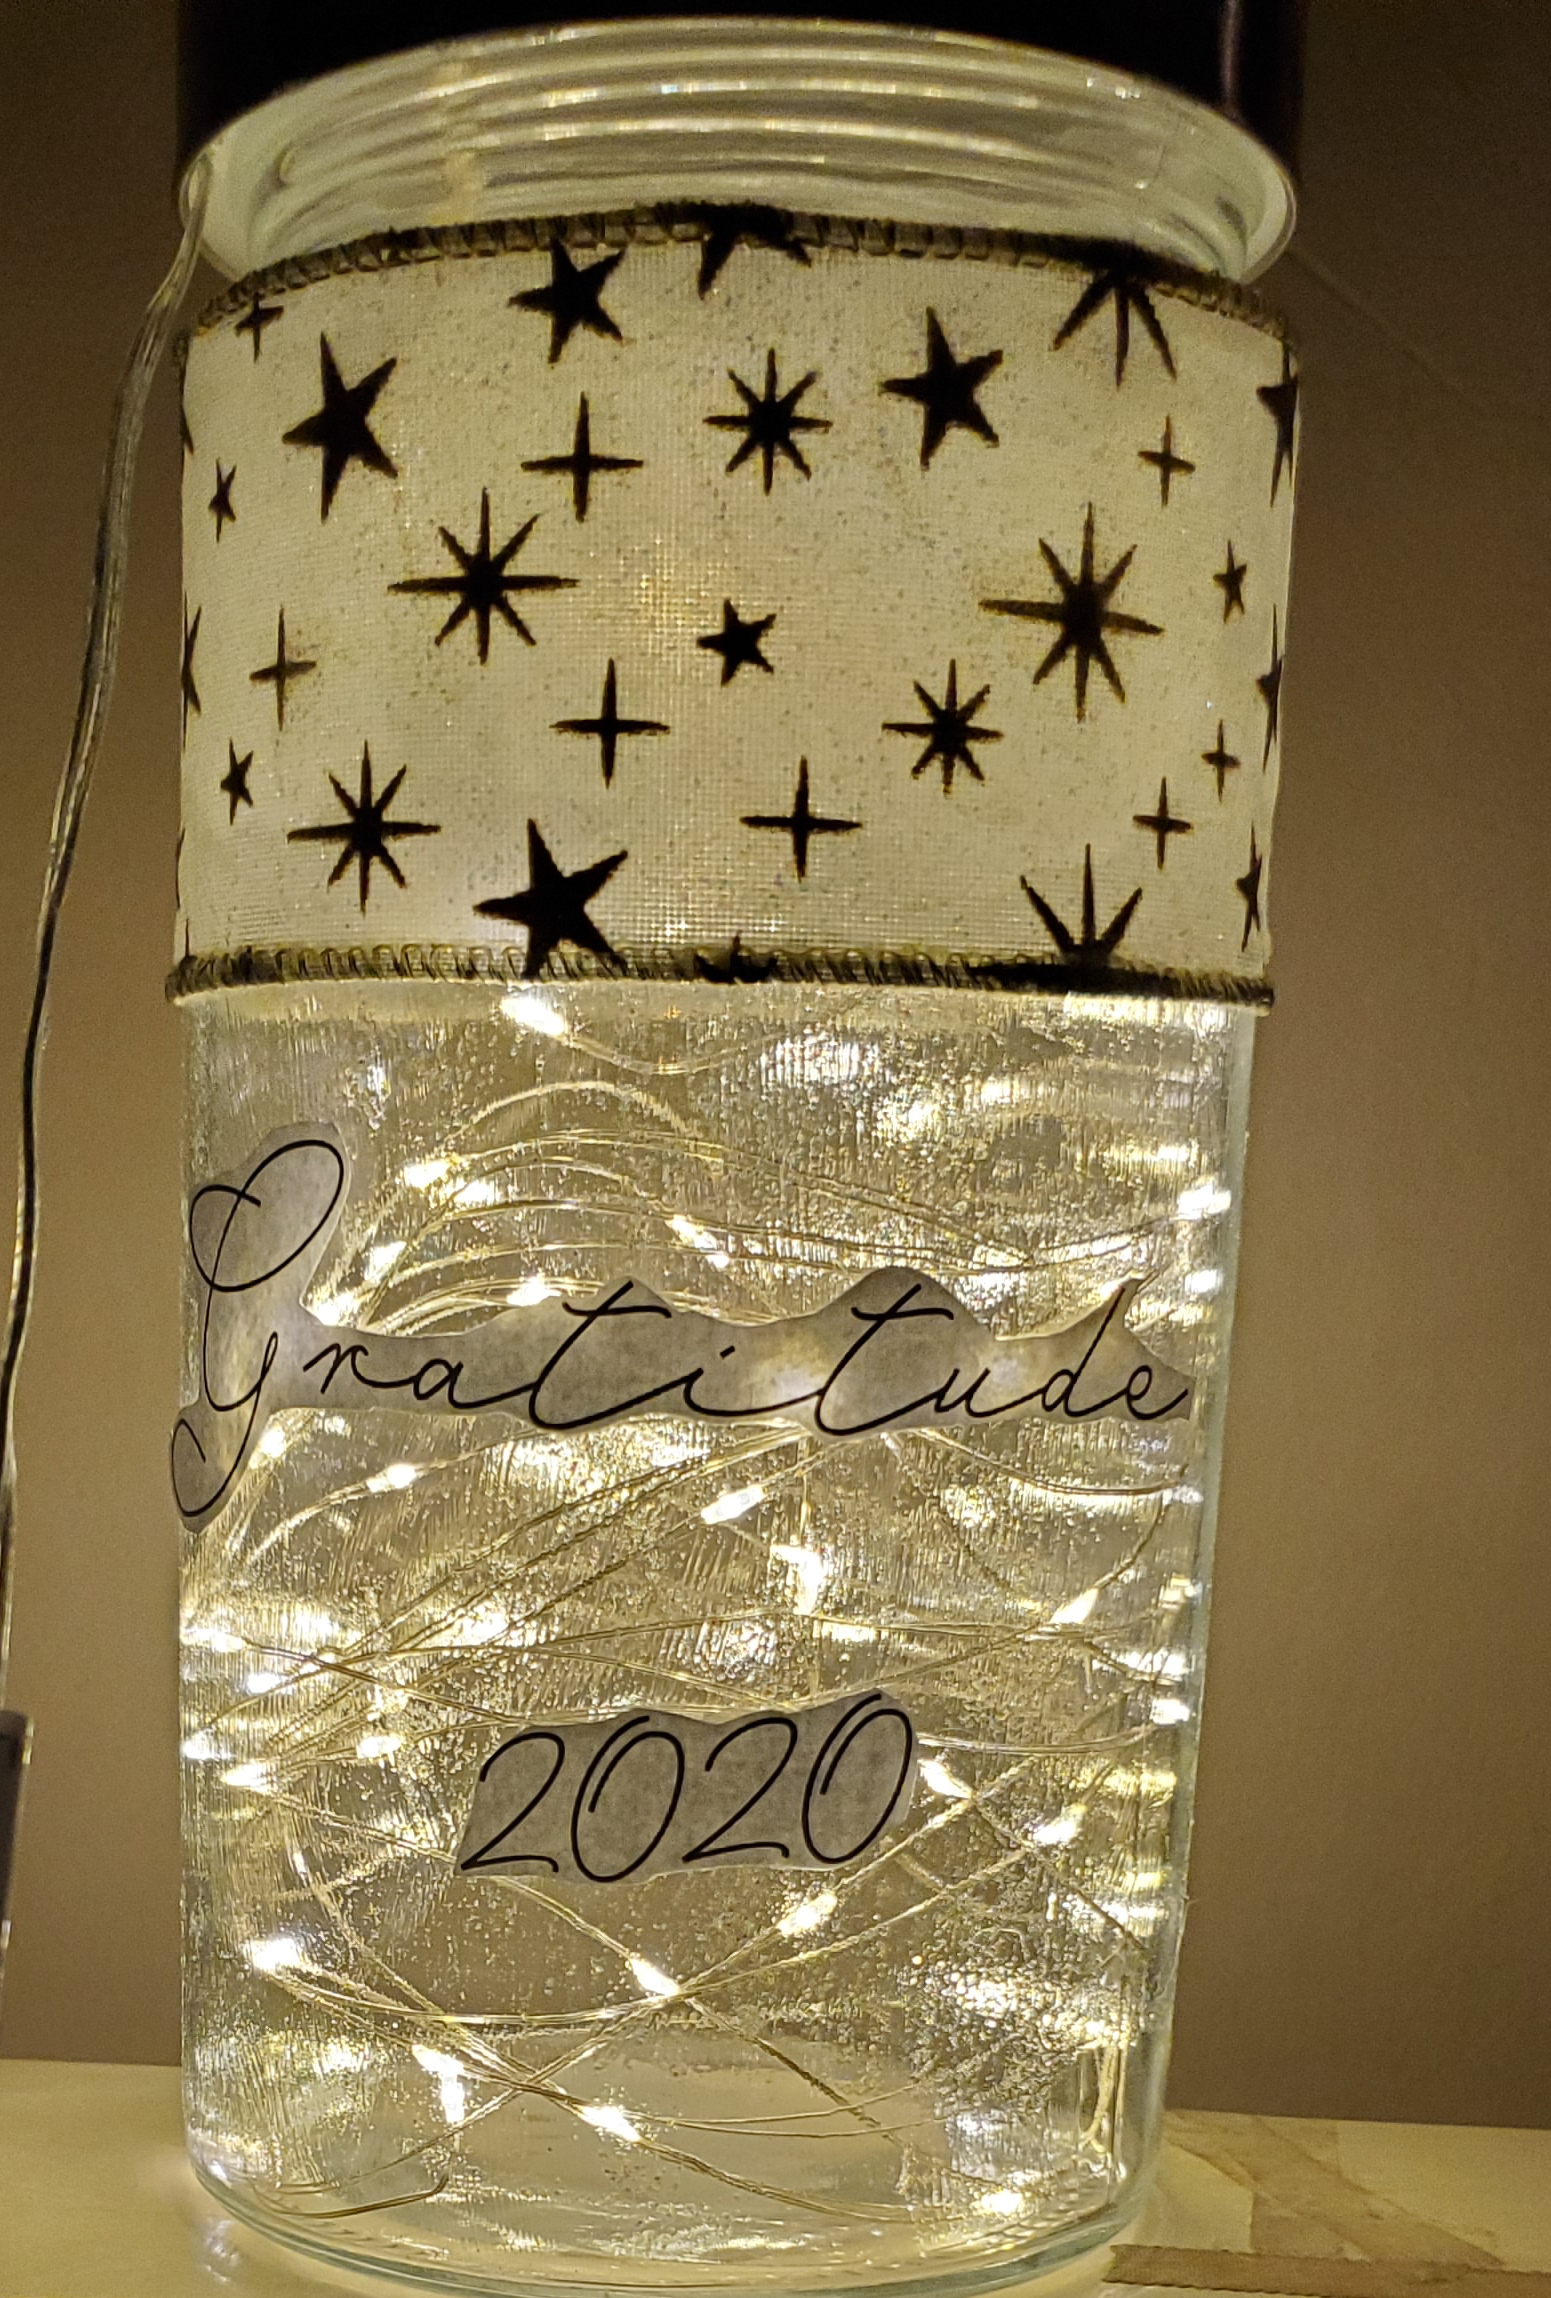
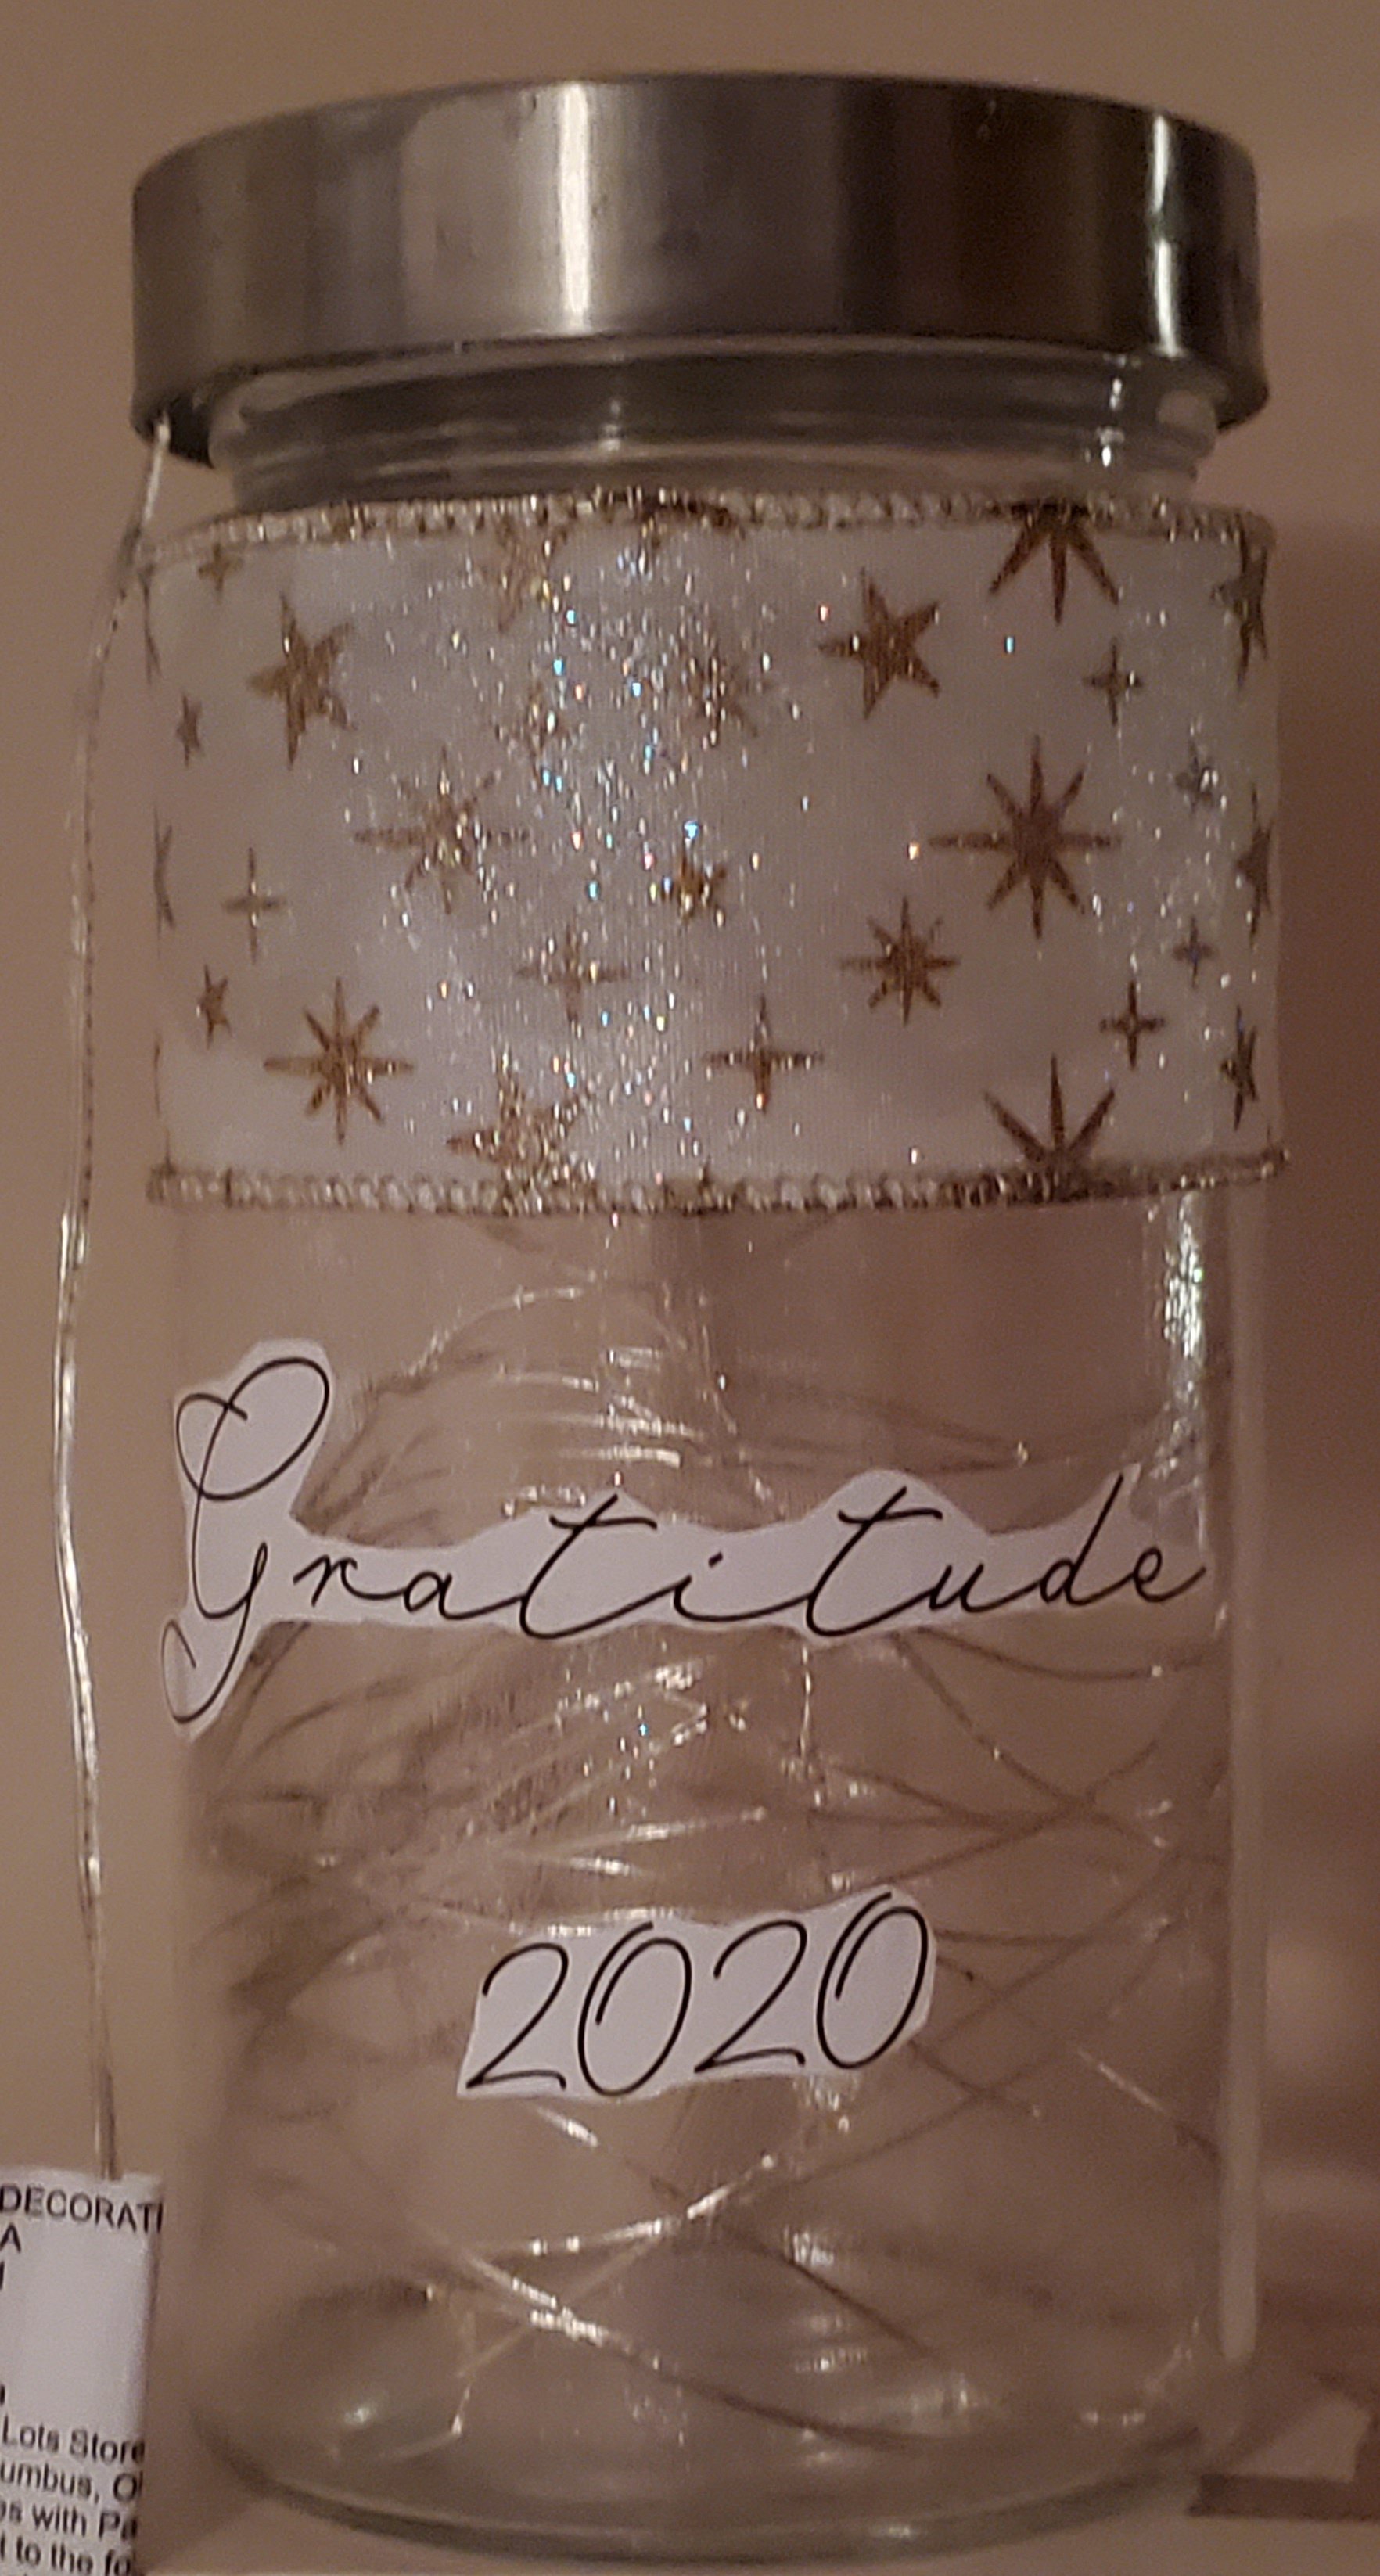
This year, one of my intentions is to use a gratitude jar, and several of my clients are joining me on this journey. A gratitude jar is a container in which I will slip written notes of moments of gratitude. I set a goal of doing this at least once a week, but I can put notes in as often as I wish. I’m also going to date each of these notes, so I’m able to place this moment in time. There’s no right or wrong way to use a gratitude jar – do whatever feels right for you. If you are grateful for peanut butter M&Ms, put that in the jar. Grateful that a friend called just to say hello? Write it down. Someone let you cut in line? You get the idea. It’s anything that makes your life a little better.
I use this as an alternative to journaling. I still believe journaling is a GREAT way to release thoughts and feelings as well as marking a journey, but I know it’s not right for everyone. Using a jar also narrows the focus towards gratitude instead of being about anything and everything. I know I like a little focus in my life.
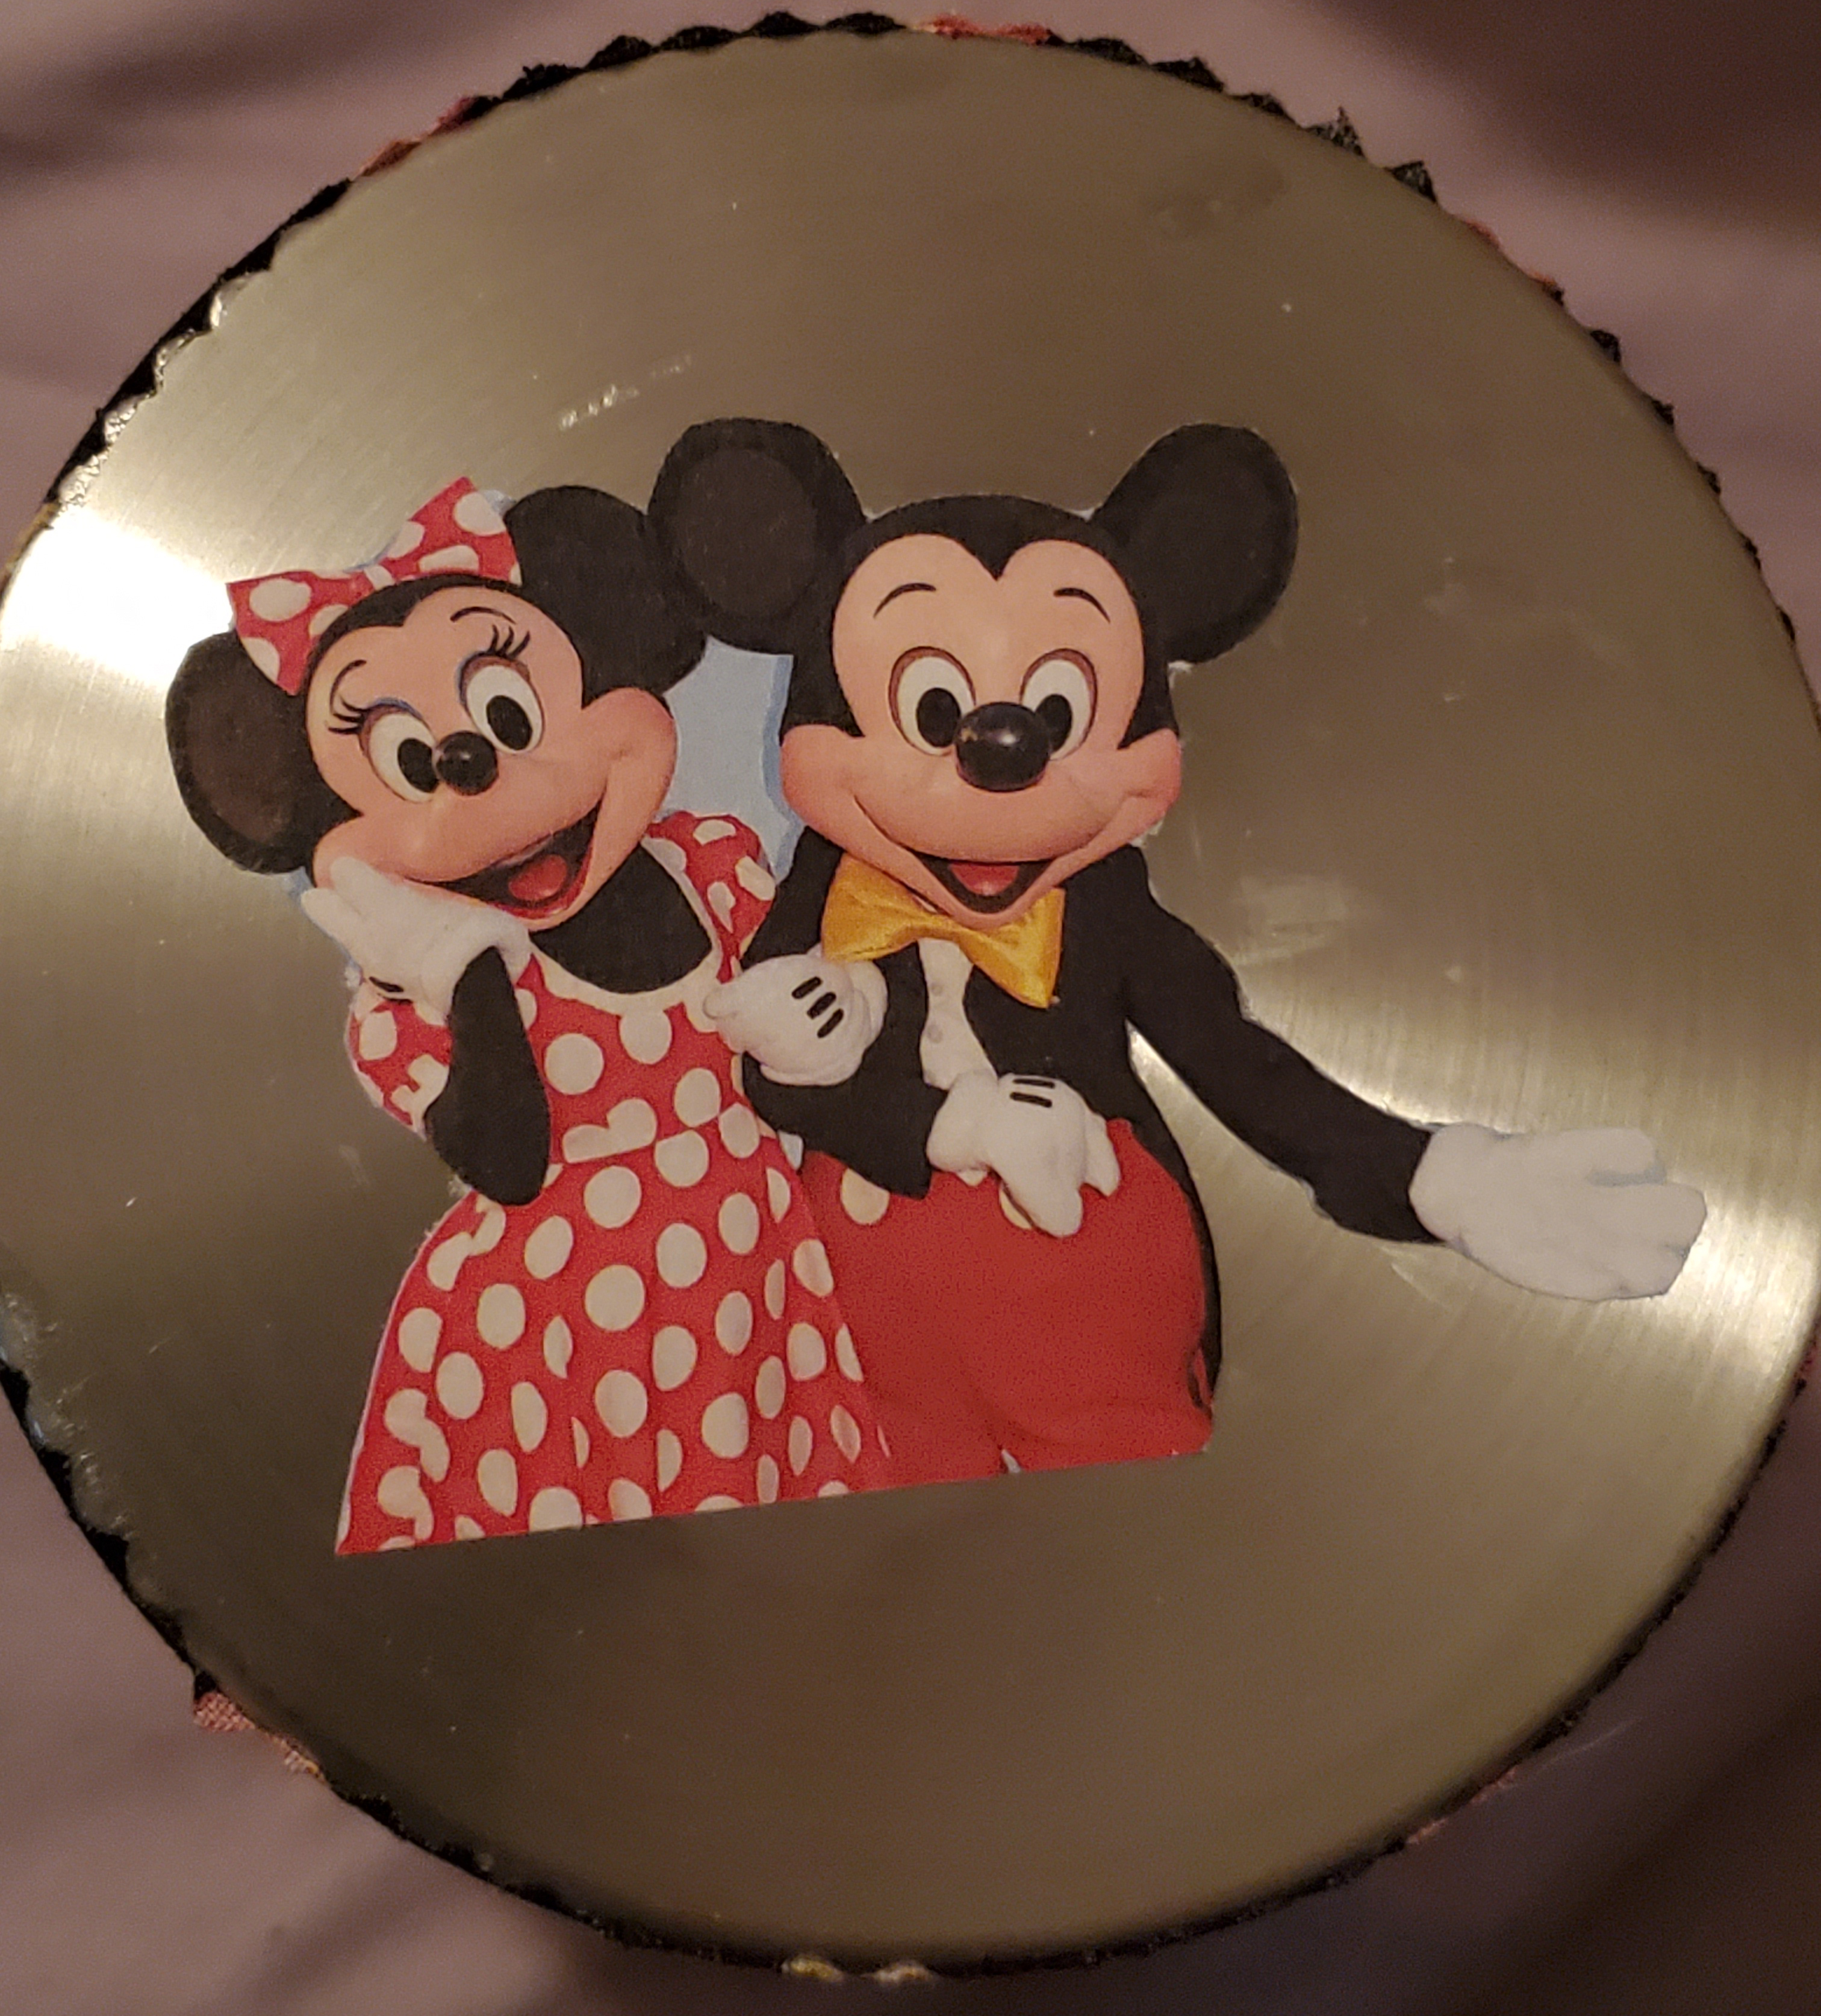
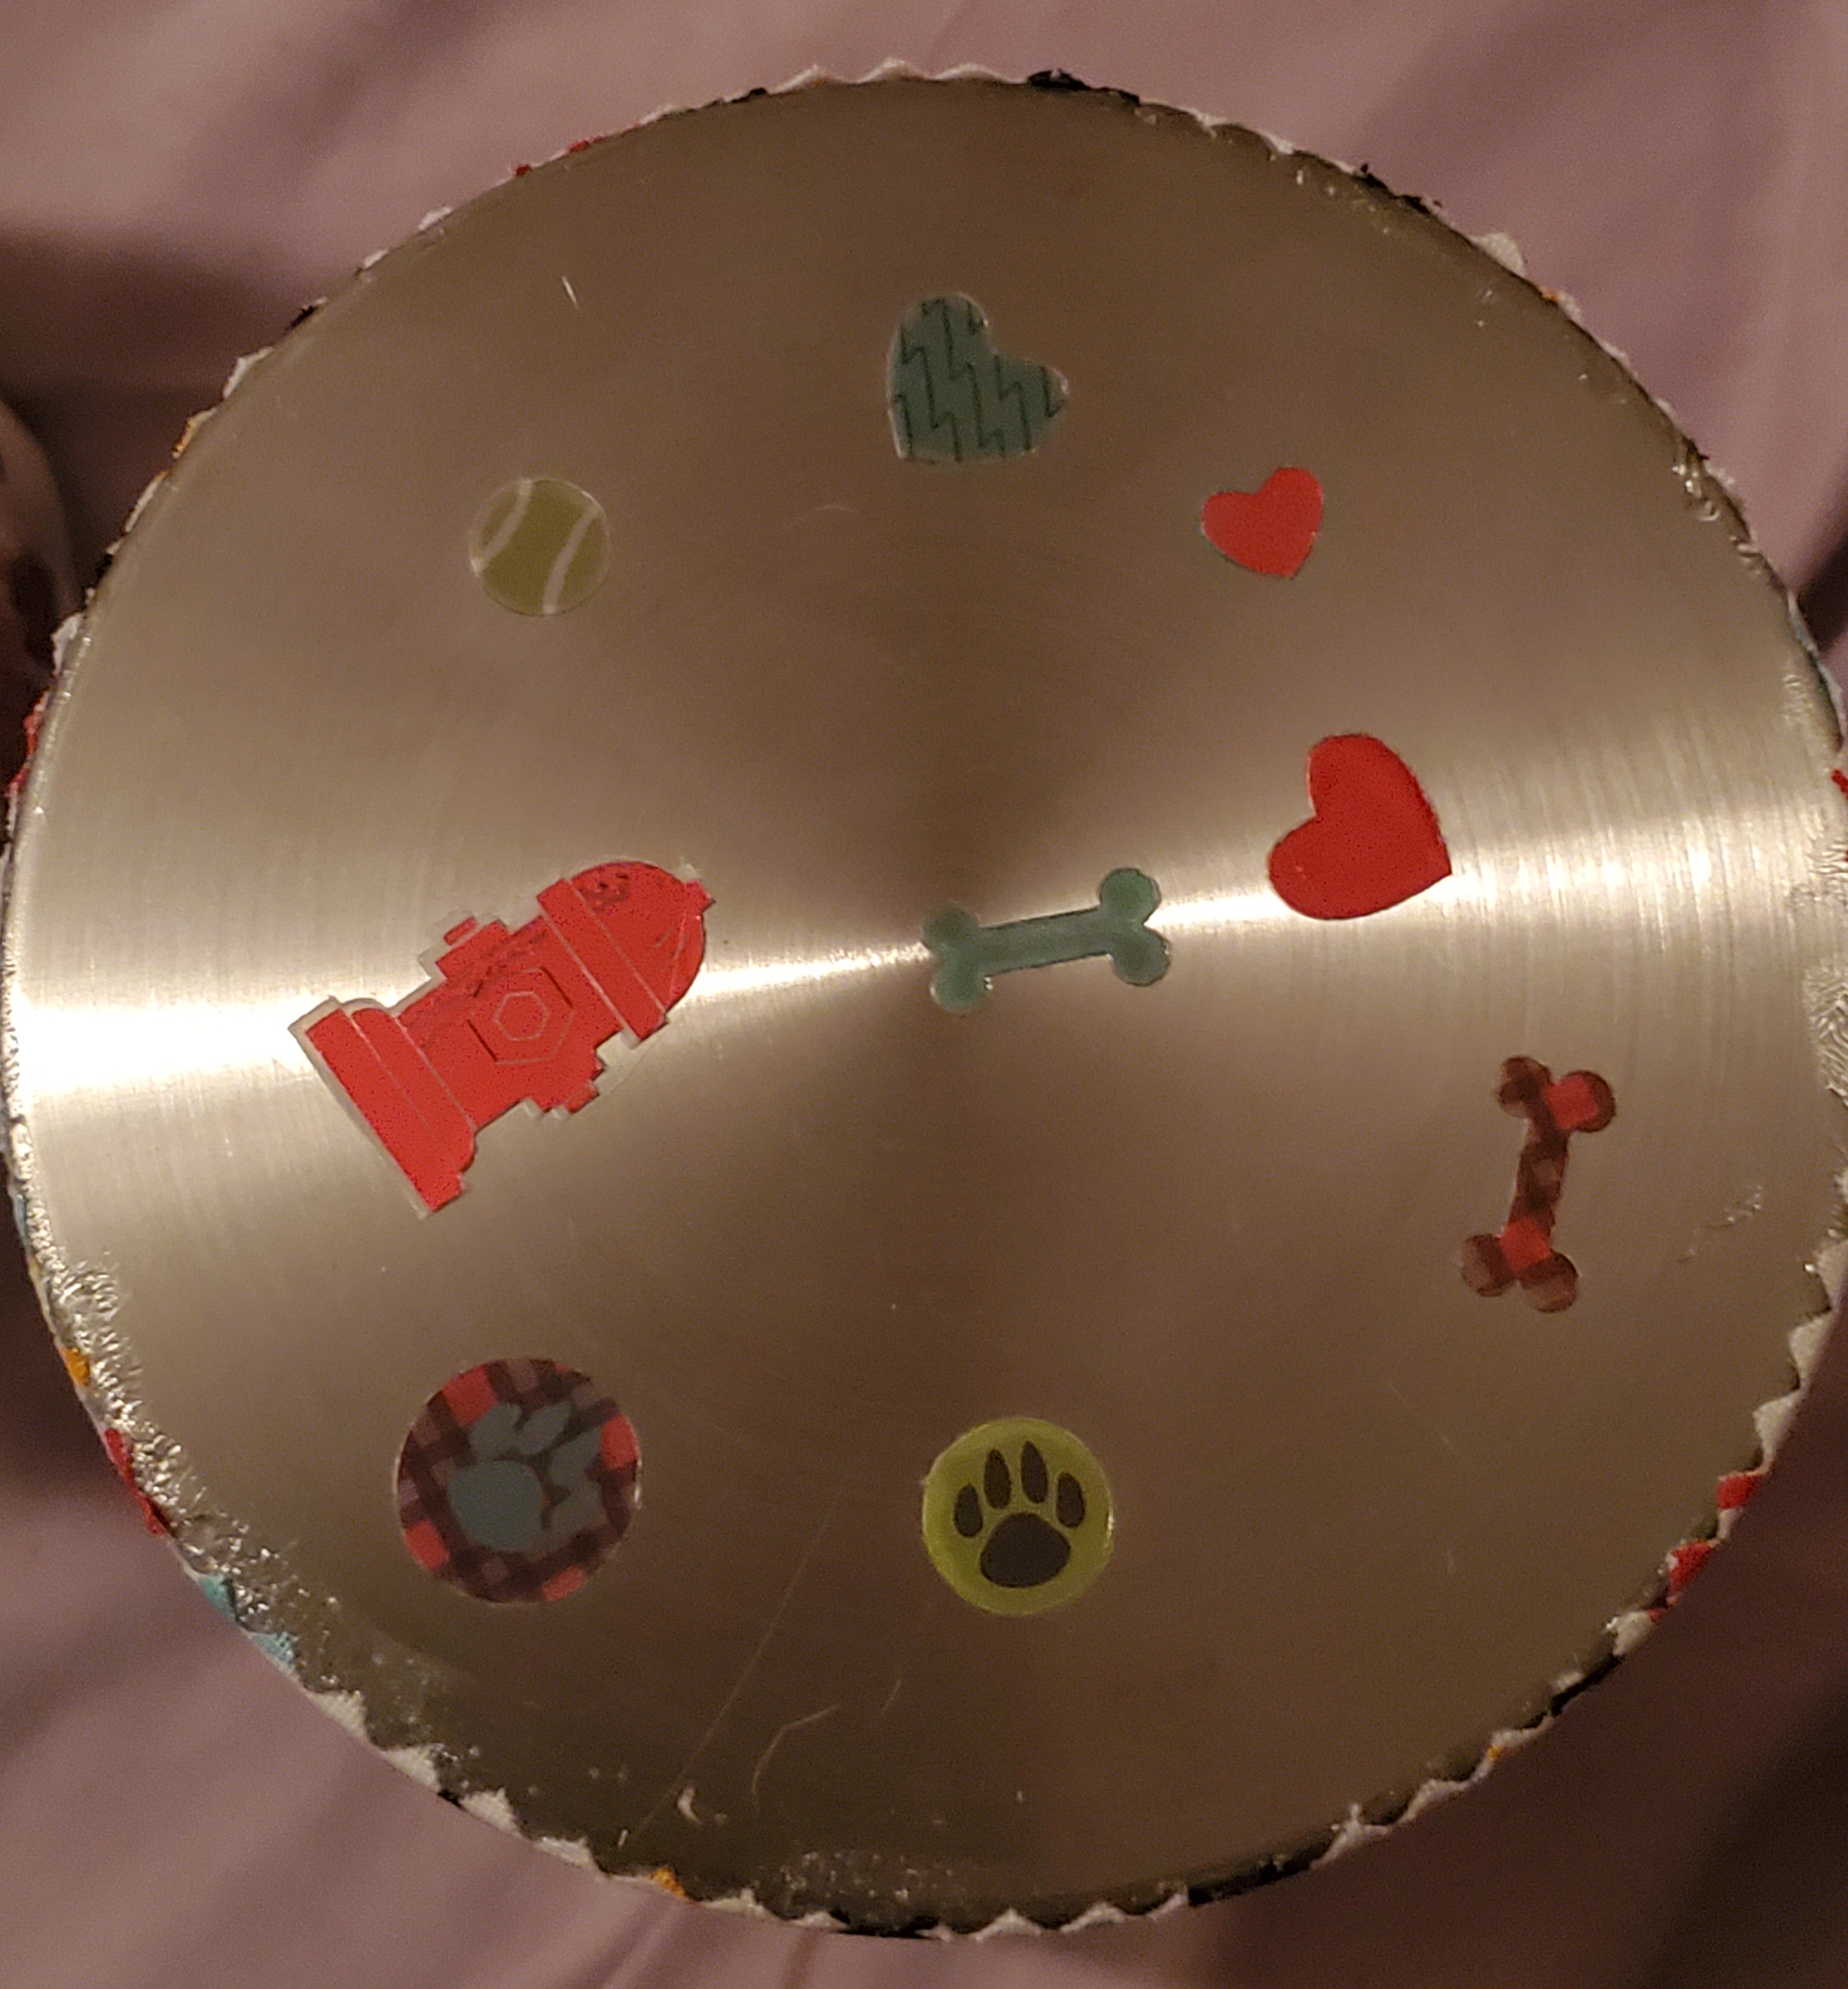
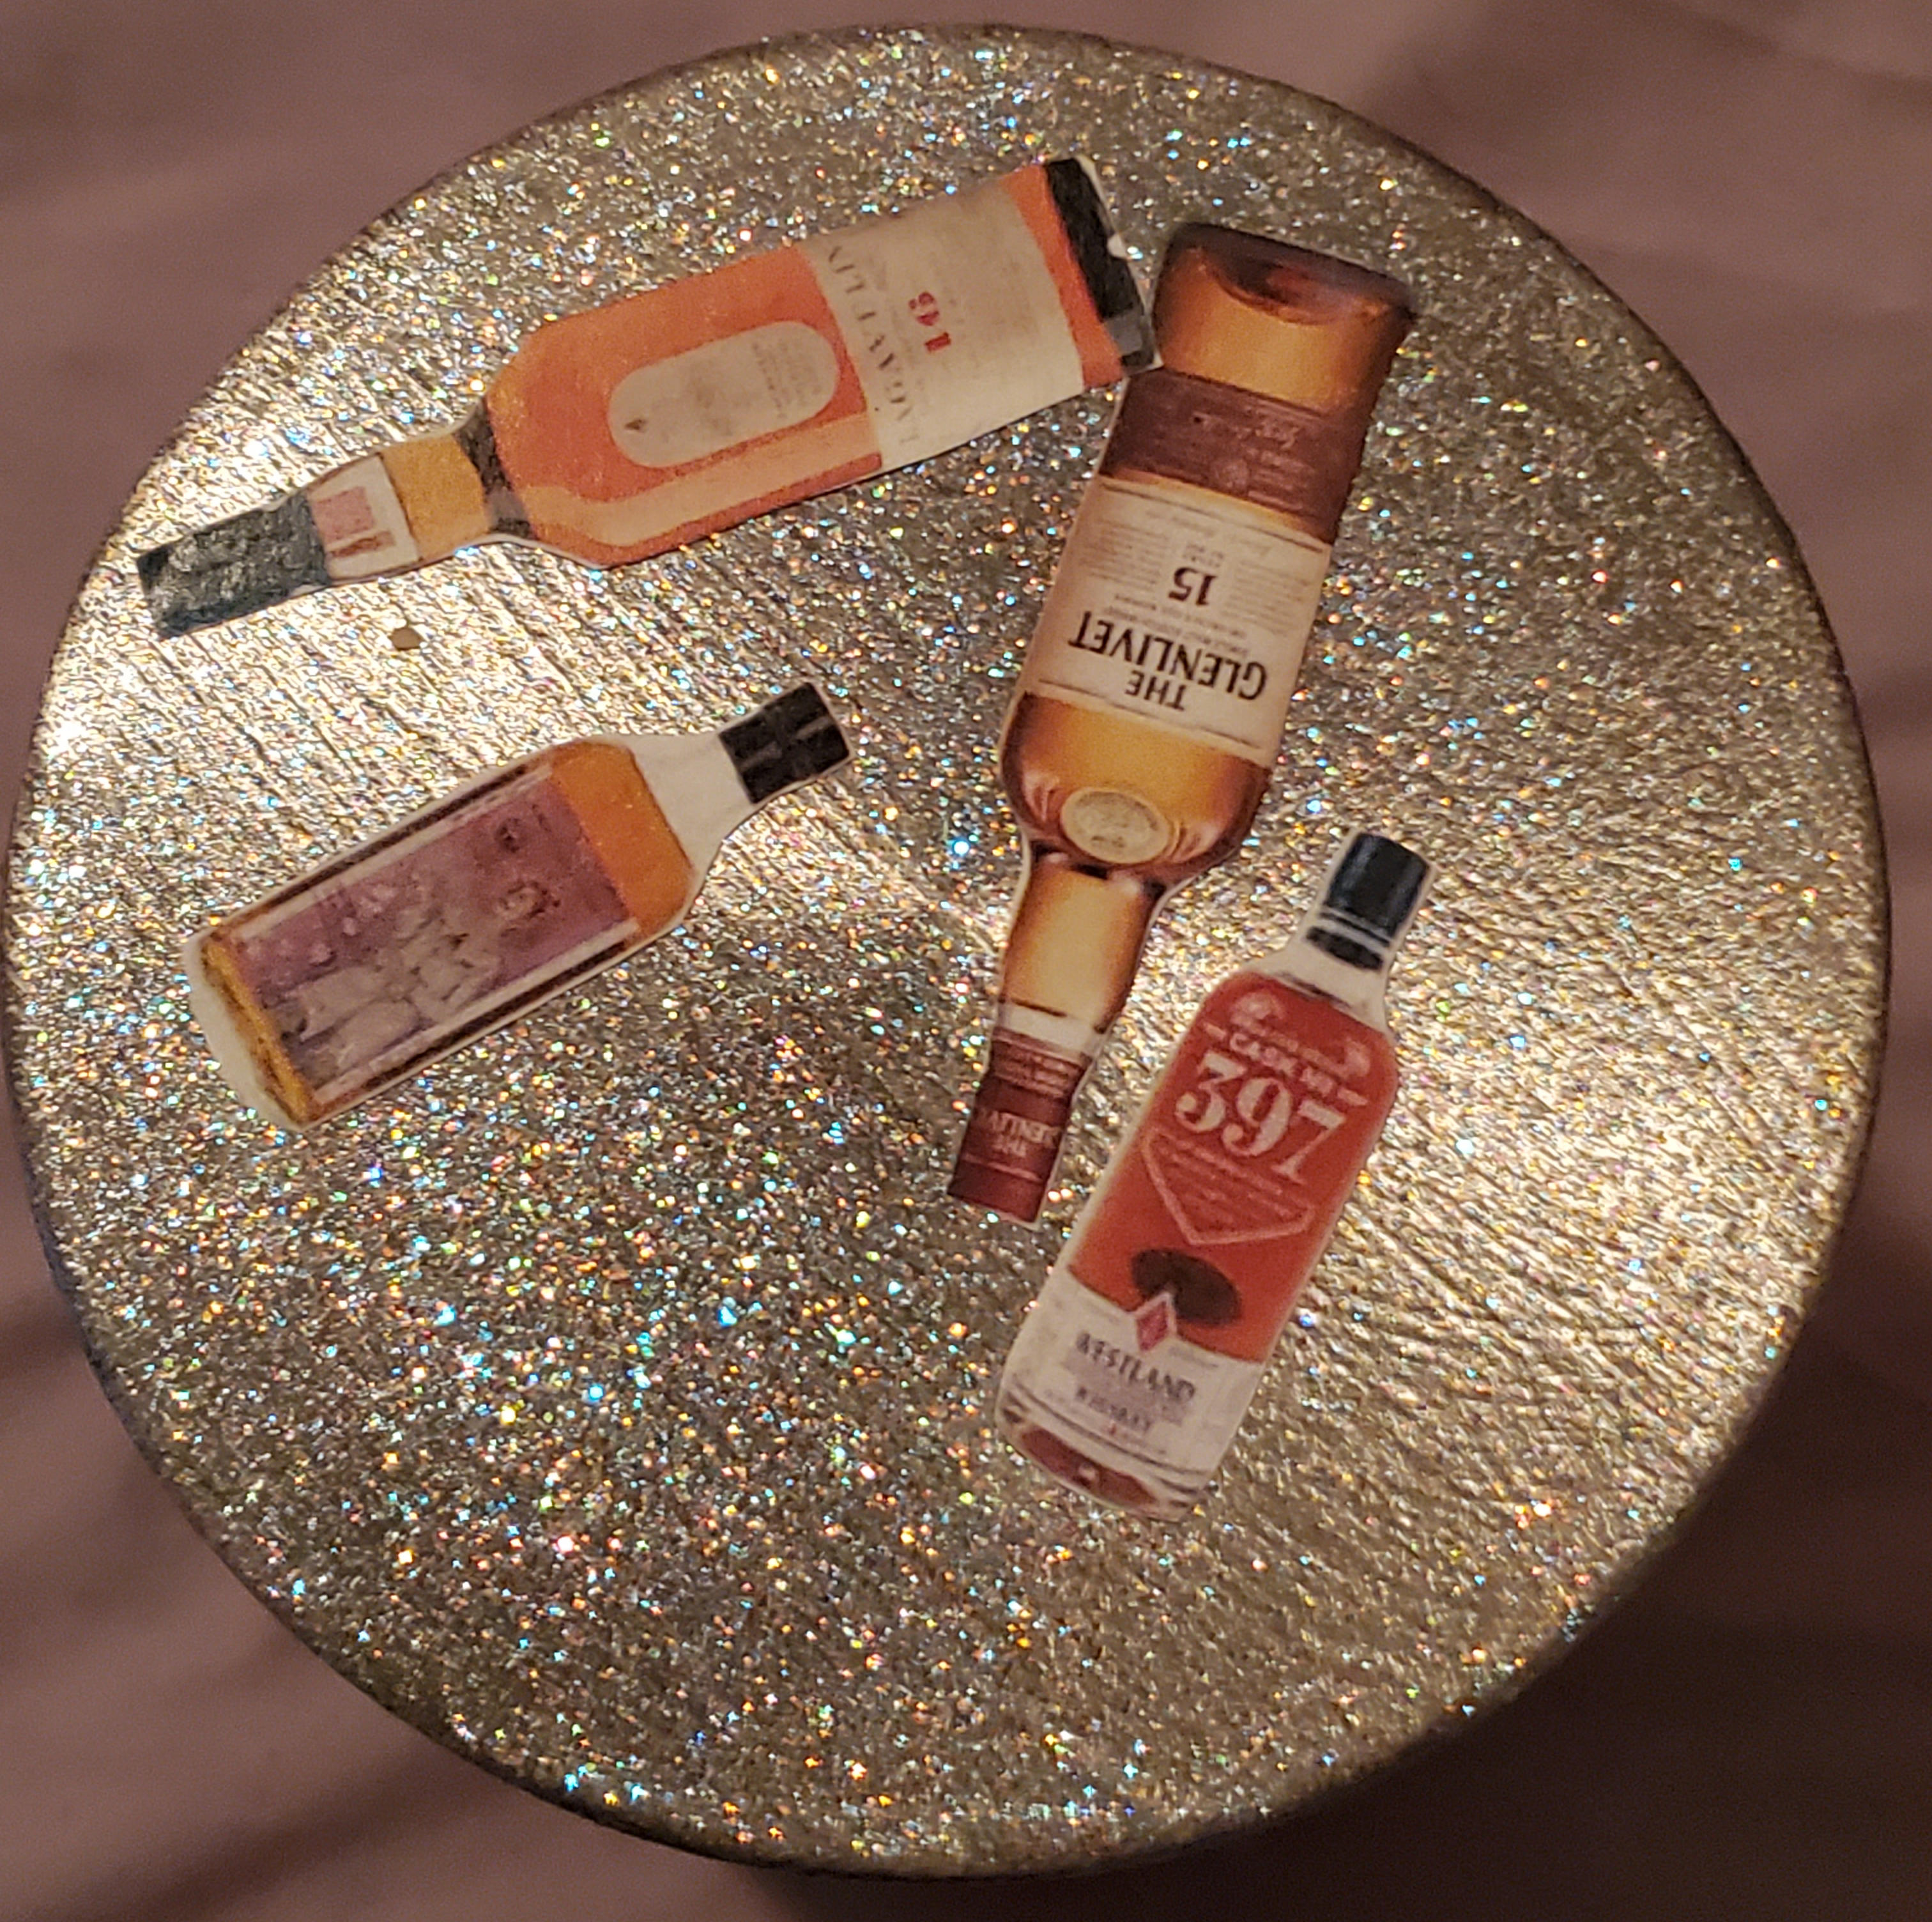
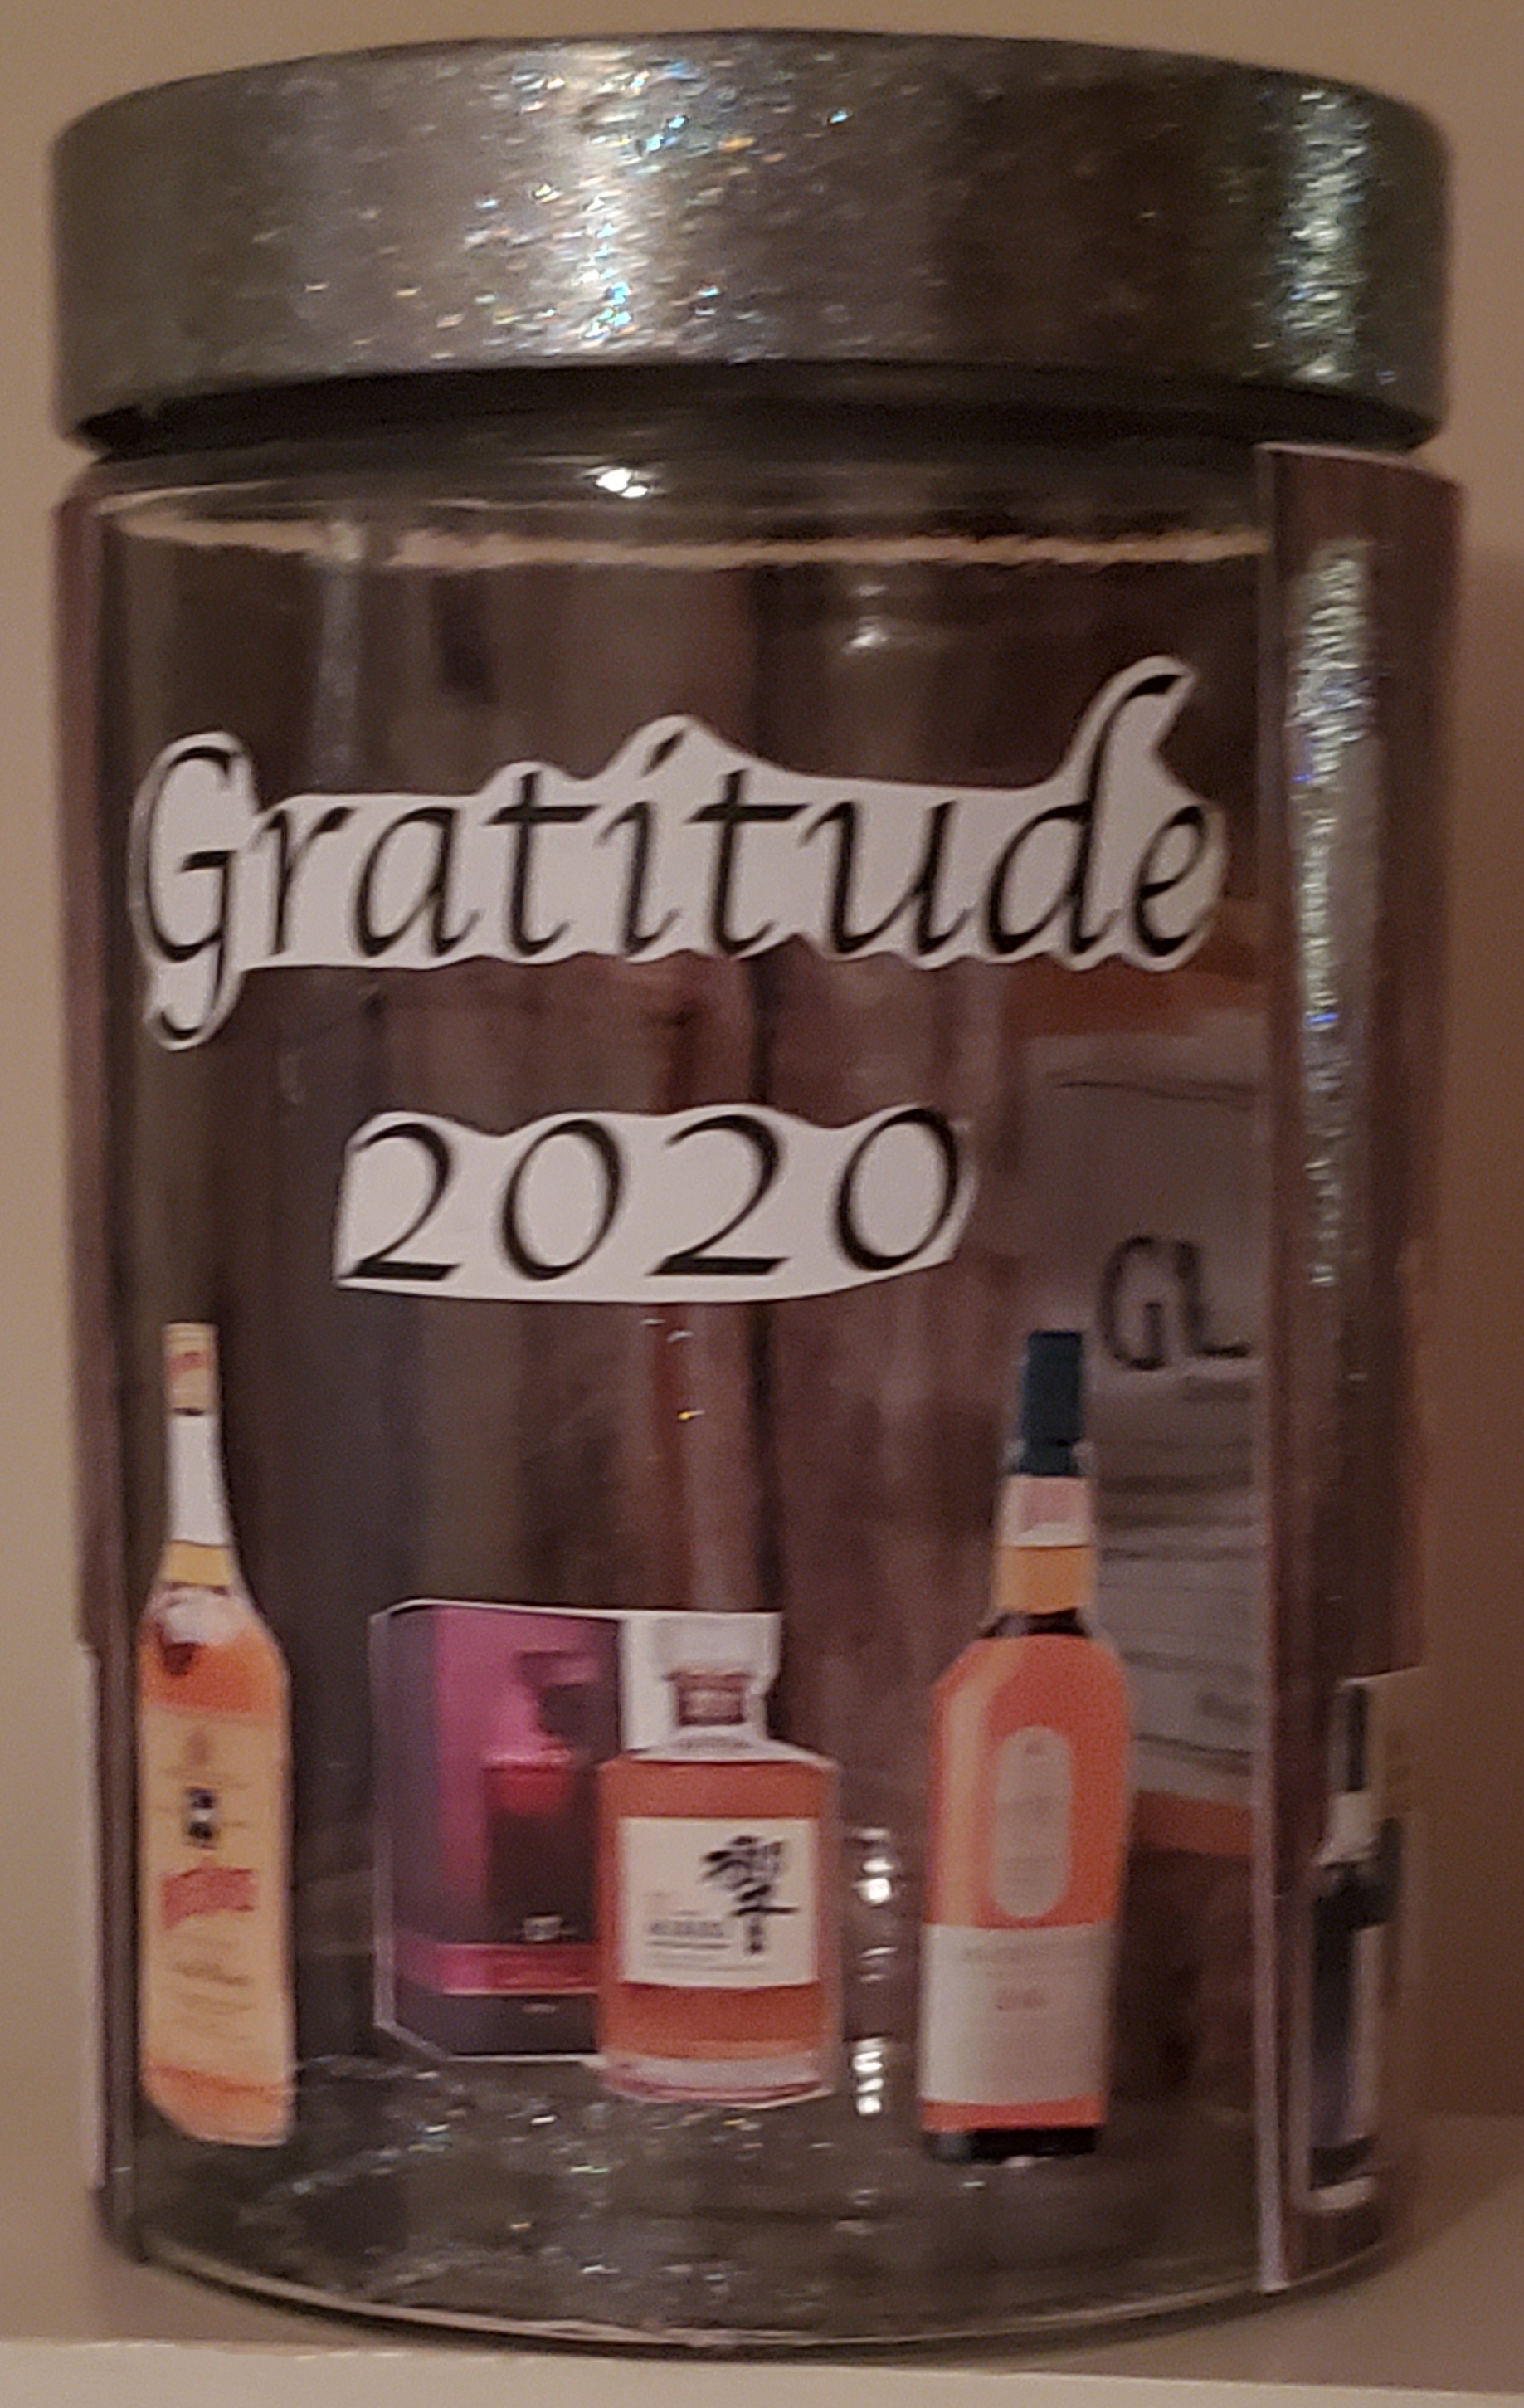
I’ve included pictures of some of the gratitude jars I’ve created for people to get you started and get the creative juices flowing. Here’s what you will need to make your own:
- Glass Jar – plastic can work, but check your adhesive to make sure the items stick and it doesn’t warp the plastic.
- Adhesive – I recommend Mod Podge for this. Once smoothed out, it doesn’t create ripples like school glue can. It also comes in a variety of finishes – you’ll notice my use of extreme glitter in the pictures.
- Paper cutouts – this is how I really customized. I went online and printed out pictures of items I wanted.
- Photos
- Stickers – stickers used for scrapbooking are quite forgiving if you need to take them off and place them in a new place.
- Ribbon
- Sealant – Mod Podge works well for this but you can also use a shellac. You’ll want to make sure you protect items from the elements. Paper cutouts are especially vulnerable.
Make sure your jar is clean and free of residue. once you have adhered all your items on the jar, let is set to dry completely before applying a thin coat of sealant. Allow that to dry, and you’re all set!